When you have to start a Hyperlapse with a drone that can have to boost your videography to new heights, mainly with a picturesque location like Sydney. This blog can provide the all details about Hyperlapse with drone planning to capture and edit your Hyperlapse footage.
What is a Hyperlapse?
A Hyperlapse is a captivating technique that combines time-lapse photography with drone technology. They can involve capturing footage in the sequences of still images when the drone can move along a specified path. When the images are stitched together end of the result they can create a dynamic video that shows motion in an exaggerated and visually stunning manner. This technique is very useful for showing busy cityscapes, natural landscapes, and iconic landmarks.
Why Use a Drone for Hyperlapses?
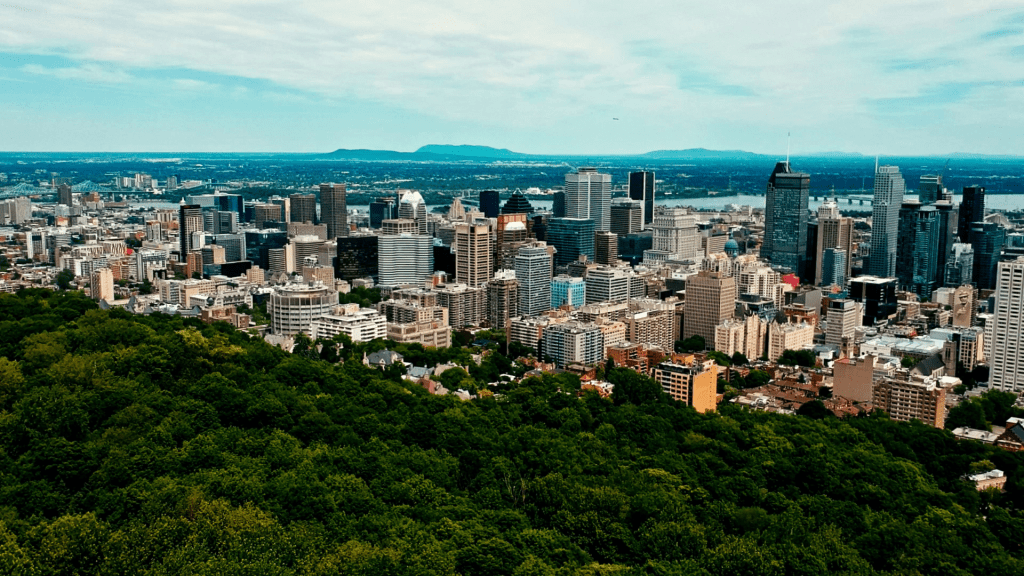
Drones can have unique perspectives which are hard to achieve with traditional photography. These can allow you to capture sweeping aerial views of the Sydney skyline, the Harbour Bridge, and Bondi Beach, even while adding a sense of motion that improves the storytelling part of your footage. That is the combination of drone technology and Hyperlapse techniques end of the results in breathtaking visuals that can be posted on social media platforms like Instagram Reels, YouTube Shorts, and TikTok.
Plan for Hyperlapse Shoot

1. Choose Your Location
It’s important to choose the best location for the Hyperlapse shoot. Sydney offers multiple iconic spots, such as:
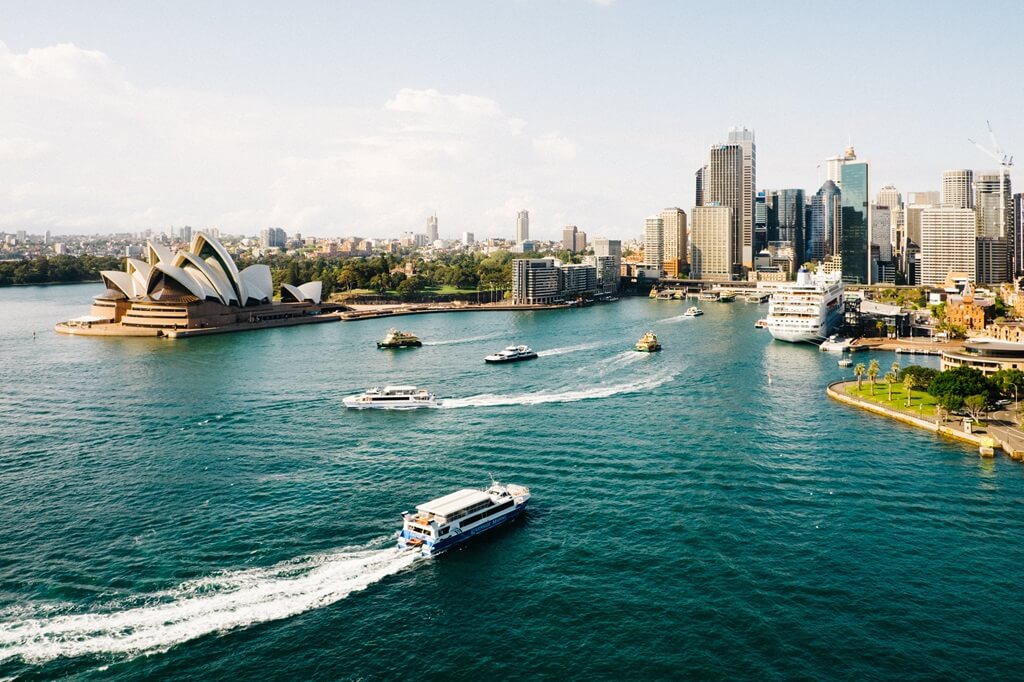
- Sydney Opera House: This is a breathtaking architectural marvel best for showing movement around its sails.
- Sydney Harbour: you should capture bustling ferries and boats that can emphasize the vibrancy of the harbor.
- Bondi Beach: these are the perfect for capturing surfers and beachgoers. This can add dynamic motion to your footage and videos.
2. Check the Weather
Weather conditions mostly impact your shoot. You need clear skies and minimal wind to provide stable drone flight with clear visuals.
3. Scout the Area
When you are flying your drone, you just need to visit the location to pick the best location and path for your Hyperlapse shoot. You have to determine points of interest and plan your flight path accordingly.
4. Understand Local Regulations
You must familiarize yourself with drone regulations in Sydney, mainly following the guidelines set by the Civil Aviation Safety Authority (CASA). You need to be sure about the necessary permission to fly in your location, especially in public areas and near crowds.
Capturing Hyperlapse Footage
1. Equipment Setup
When you create Hyperlapse shots, you’ll need:
- A Reliable Drone: The best drone of DJI models such as Mavic 2 Pro or Mavic Air 2. They are an excellent selection due to their advanced features and stability.
- ND Filters: This can help to manage light exposure that can allow smoother motion blur in your capturing footage.
- Extra Batteries: The drone operator needs to always carry extra batteries that make sure. They have enough power to capture shots or extended shots.
2. Configure Your Drone Settings
Before flying the drone, you need to adjust the drone settings for optimal Hyperlapse capture:
- Resolution: You must set your drone to capture at the highest resolution available.
- Photo Interval: Select an interval time that can suit the speed of your subject. The common setting is 2-5 seconds between each shot.
- Flight Mode: The operator must use the course lock or waypoints feature to maintain a steady path while capturing images.
3. Execute the Flight
When everything is set once then launch your drone and begin your Hyperlapse shot. The operator must have to monitor the drone’s altitude and distance from obstacles for safety purposes.
4. Capture Motion
When you want to improve your visual interest in your Hyperlapse. You need to capture specific areas of significant movement like busy streets, moving vehicles, or people in parks. Include more motion that can make more dynamic your final video will be.
Editing Your Hyperlapse
Editing is there when your Hyperlapse footage truly comes into your life. Here are some steps to editing your footage:
1. Transfer Your Files
When the shoot is completed collect your images and transfer them to your computer. Files should be organized to streamline the editing process.
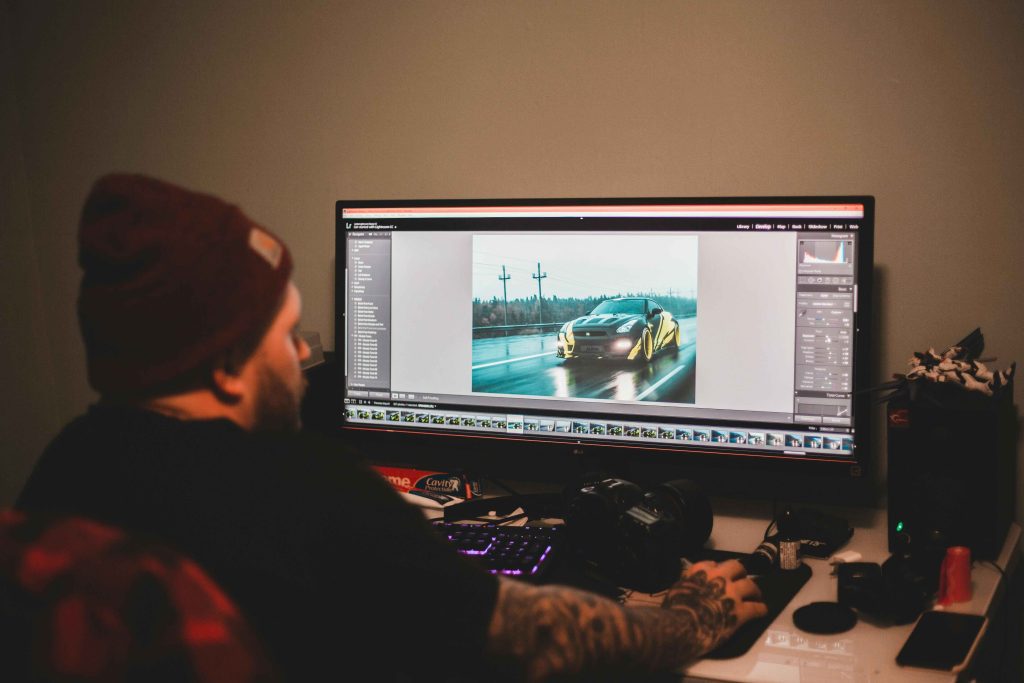
2. Use Editing Software
Software like Adobe Premiere Pro, Final Cut Pro, or specialized software like LRTimelapse can be used to stitch your images into one single file.
3. Merge Images
After capturing photos import your photos into your editing software and arrange them in series. We can have to adjust the timing to create a smooth flow that can make sure the final video matches the intended duration.
4. Apply Stabilization
When footage has any shakiness, then use stabilization tools available in your editing software. These are important for achieving a professional look.
5. Add Motion Blur
This can make for improving the smoothness of your Hyperlapse, applying motion blur effects. This technique helps you to create more natural and fluid motion in your final video.
6. Color Grading
You can adjust the colors and contrast that make your footage pop. color grading mostly improves the visual appeal of your Hyperlapse.
7. Export Your Video
Finally, you have to export your Hyperlapsein which is the appropriate format for the desired platform. You must export in a vertical format for social media based on mobile viewing.
Creative Tips for the Best Hyperlapses
- Experiment with Different Angles: you haven’t been afraid to try different perspectives and flight paths to finding the best works of your subject.
- Incorporate Sound: Adding music or ambient sounds that can improve the emotional impact of your video.
- Use Slow Motion: Take slow-motion clips to highlight specific moments in your Hyperlapse footage.
- Share Your Work: you can post on social media platforms like Instagram and TikTok to reach a broader audience and show your skills.
Conclusion
There is an exciting way that capture the beauty of the city with their unique perspectives. We have to plan for the shoot by using the right tools and experience for editing footage in the editing process which can provide stunning visuals and make stand out. Whether it may be personal or professional projects mastering the arts of Hyperlapsevideography will elevate your drone photography and videography skills to new heights.
Anyone interested in professional drone photography and videography services in Sydney, Upload Enterprise is here to help you capture breathtaking aerial footage that tells your story.